Leveling the lathe: How important it is to level my lathe?
Leveling the lathe is an absolutely necessary procedure no matter what type of lathe you own. Even with the most accurate and well-made machines you will not be able to produce accurate work if it’s not properly leveled. The weight of the lathe or the force from the bolts that we use to secure the lathe will cause the bed to be twisted, throwing the headstock and tailstock out of alignment due to the uneven surface of the floor or the bench.
How to level my lathe
A precision level is a tool that will make your life a lot easier but it’s not absolutely necessary for the job. By leveling the lathe approximately with a good quality level and by taking some cuts on a bar of steel and making some measurements with the micrometer we can determine on which side our bed is seating low or high and we can correct any leveling issues.
This is a trial and error method and probable it will take some time to build a clear sense of what is actually happening, especially if you are a newbie. So if you can afford a precision level is the best way to go and if you think that this is too much of an expense for just leveling the lathe once, think again. A lot of factors can throw the lathe out of level and this is especially true for the bench lathes. Lathe leveling must be checked periodically and readjustments must be made if necessary.
The Lathe Bench
The lathe bench must be 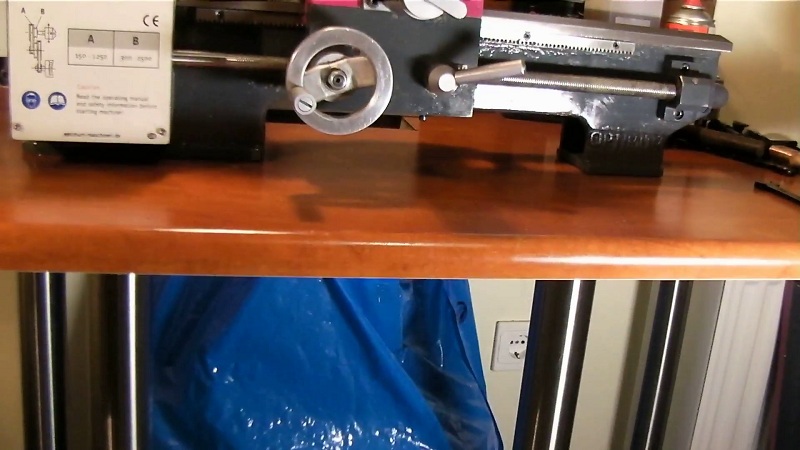 substantially constructed as possible. If you use wood for the bench top, choose the thicker and harder wood is possible. I’m using four adjustable think metal legs on my bench. Two of those are seating exactly under the lathe legs to prevent the wood from bending under the lathe weight over the time. My bench top is mounted on the wall also. Bolt the bench legs to the floor if possible. Level your bench before place the lathe on it.

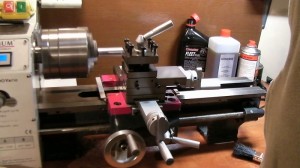
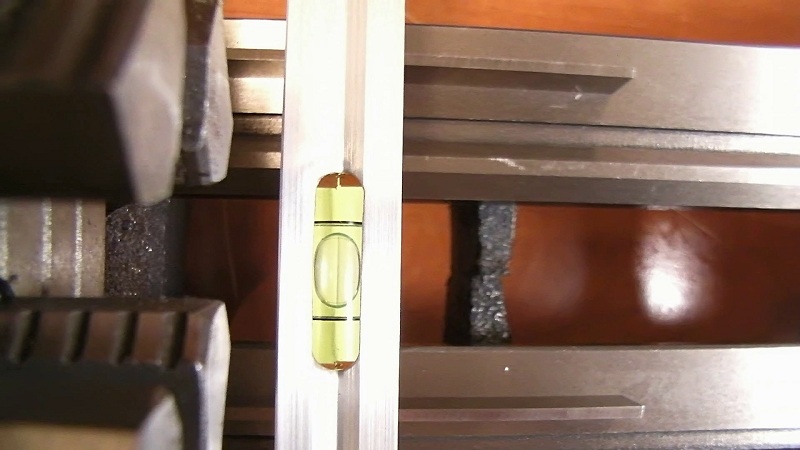
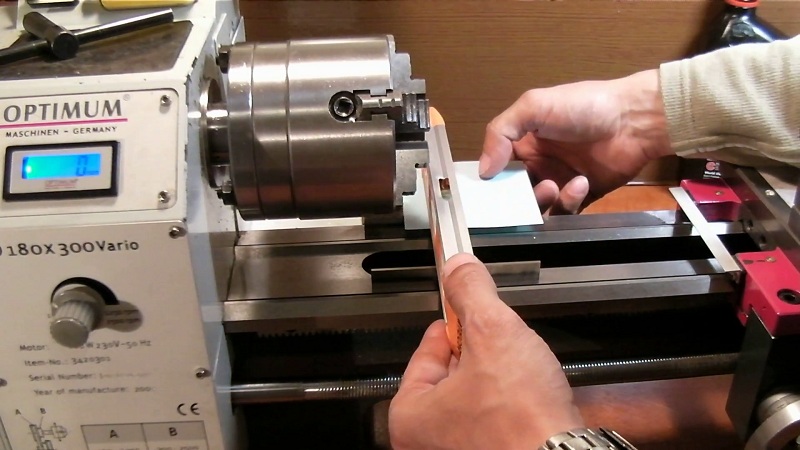
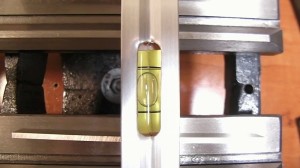
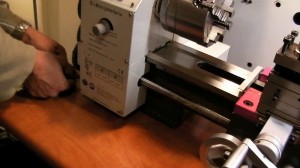
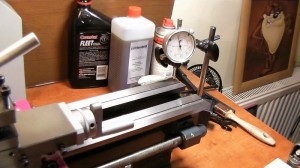
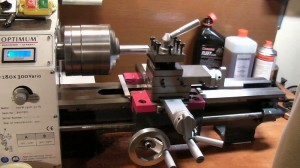
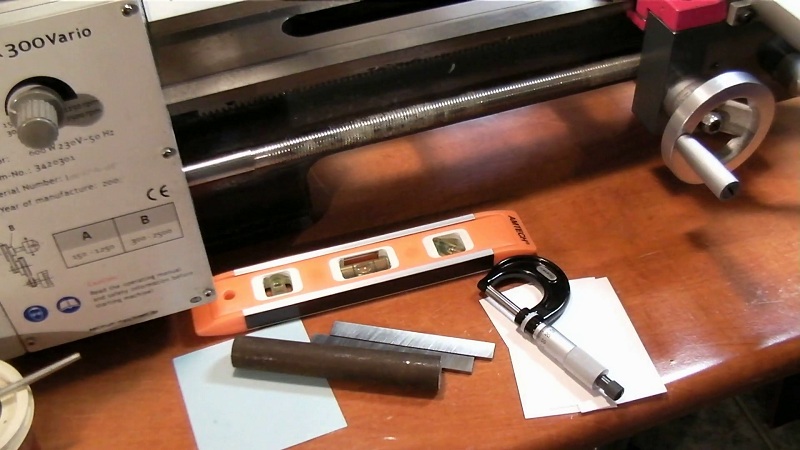 This is the tools that I use to level my lathe. I don’t own a precision level yet but I’m keeping my eye on Ebay for a used one.
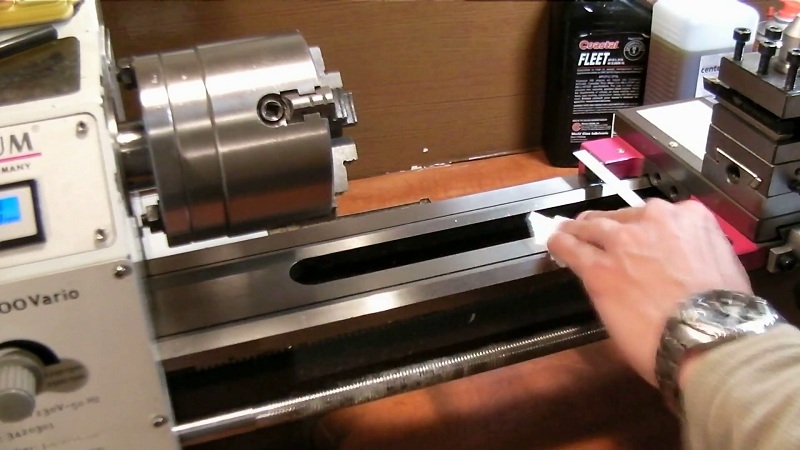
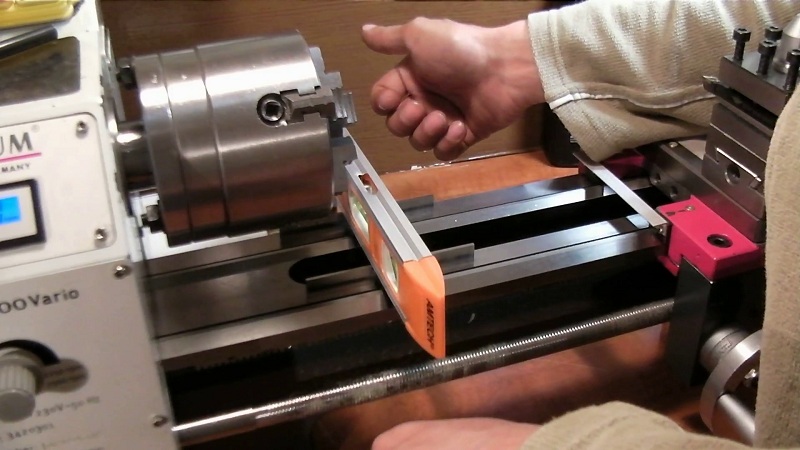
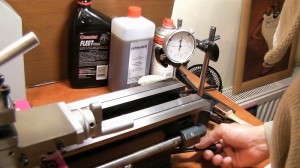
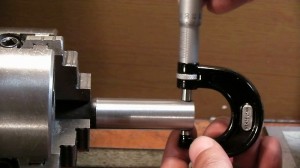
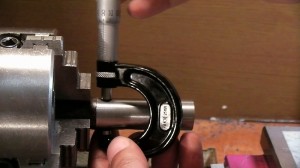
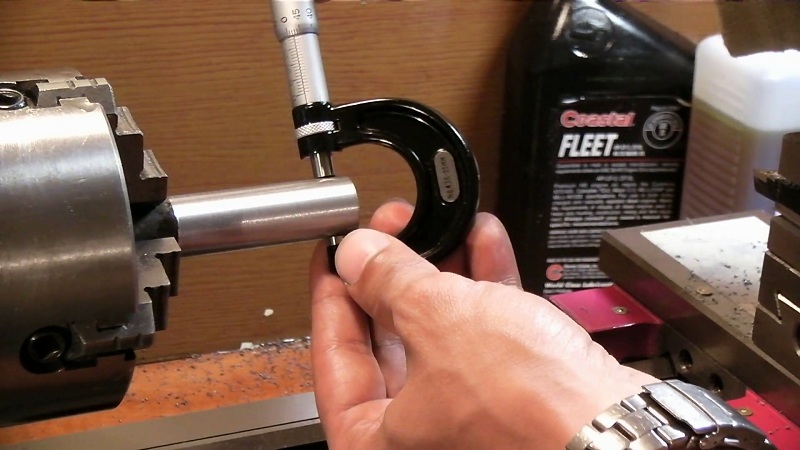
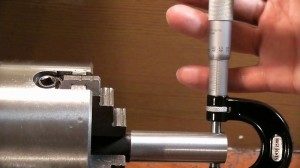
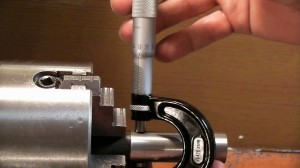
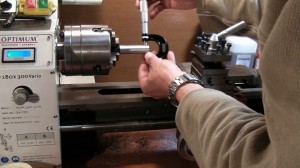
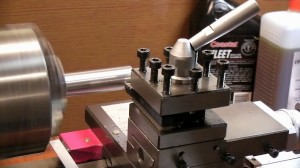 Before I take any cuts I’m warming up my machine for at least 15 minutes. Here in this example I’m using a 20mm in diameter steel rod that is sticking out of the chuck less than 60mm. The ideal would be a 25mm in diameter rod and two collars to be machined on it, one in front of the chuck and the other at the end of the rod. This is something that I’m not doing here to avoid decreasing the diameter farther more. I’m using a very sharp tool at the finest feed to take less than 0,1mm test cuts at a low rpm.
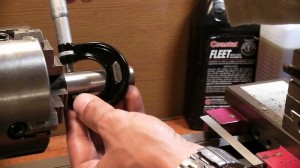
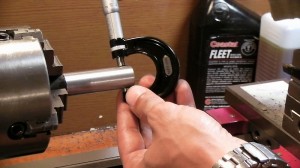
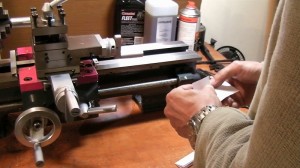
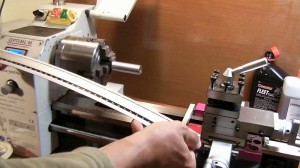 I know that my bed is twisted the way I show in the picture with the ruler. That cause the tool bit to getting lower from the center as it travels across the ways and my work piece is getting bigger.
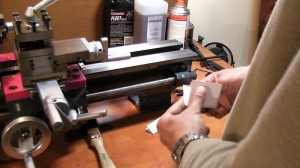
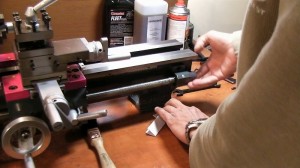 t the other hand I know that the paper is consistent in thickness and my experience from work holding tells me that it can take a lot of abuse. I don’t know, I will give it a try.
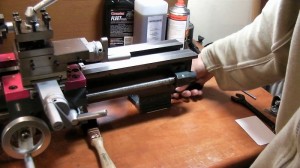
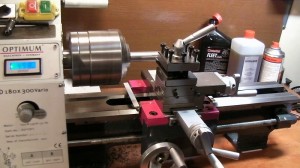 For now on I will take two light test cuts to eliminate the possibility of effecting my measurements from the previous inconsistent results.
 And I’m taking another cut.
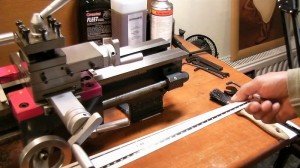 My lathe bed must be twisted the way I show in the picture.
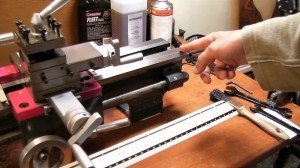
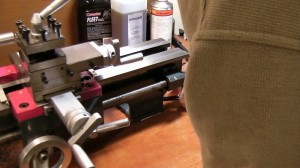 I will remove one piece from the folded card that I added previously on this side to lower the bed.