Cleaning the lathe

Cleaning the lathe

Lathe Cleaning:

Lathe Cleaning

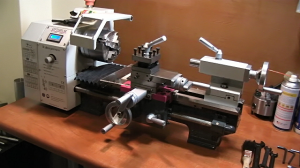
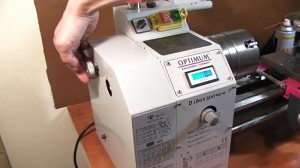
A new lathe must be cleaned first from the protective layer of grease and properly lubricated before placed in service.Please take the time to read the operating manual that Optimum Machines provides with OptiD180 (PDF file available at download page).  In case that you don’t fully understand the instructions or if you need further guidance you can contact with Optimum Machines customer support service. They were very helpful when I had questions, so don’t hesitate to e-mail them.

 lathe Disassembly

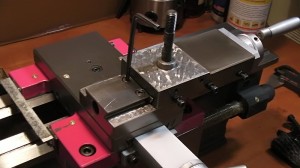
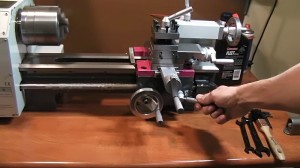
optimumd180-2Remove the tool holder and the top slide first and place them to a clean shelf next to your lathe that has enough space for all the parts that you will remove.


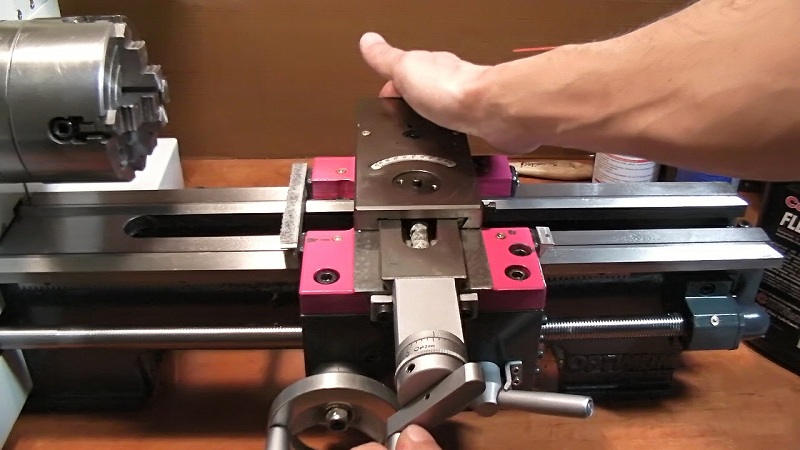
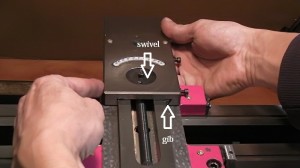
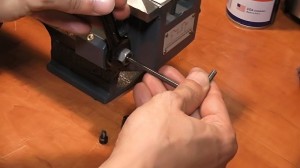
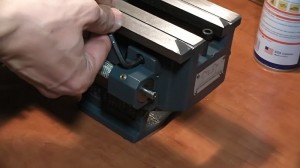
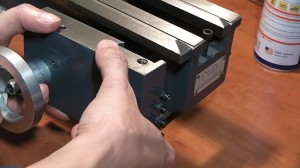
optimumd180-3Advance the cross slide until it is released from the compound. Place the one hand under the cross slide to prevent the gib and the swivel from falling and pull it out.


TOSHIBA CAMCORDER

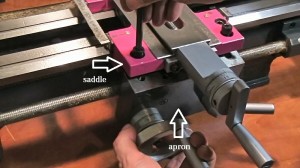
Remove the apron from the saddle.


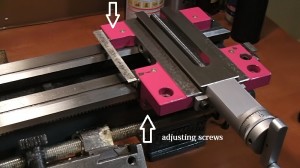
TOSHIBA CAMCORDERLoosen slightly the six adjusting screws and drive the saddle across the ways and out of the bed.


TOSHIBA CAMCORDERRemove the protective cover from the lead screw’s hanger. Hold the fixing nut with a wrench and loosen the set screw. Remove the fixing nut.


TOSHIBA CAMCORDERRemove the lead screw hanger bearing.


TOSHIBA CAMCORDERDrive the apron out of the lead screw.


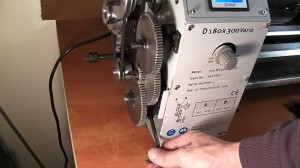
TOSHIBA CAMCORDERLoosen the change gear gib.


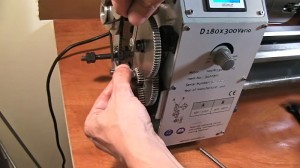
TOSHIBA CAMCORDERRemove the gears.


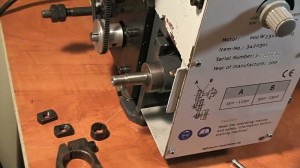
TOSHIBA CAMCORDERRemove the gear gib the sliding blocks and the collar spacer.


TOSHIBA CAMCORDERRemove the lead screw.


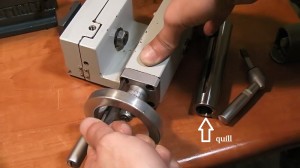
TOSHIBA CAMCORDERRemove the quill and the hand wheel from the tail stock.


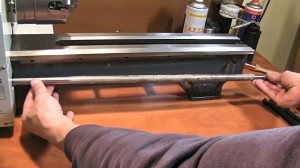
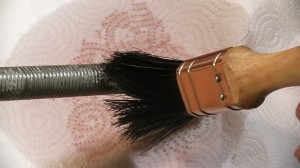
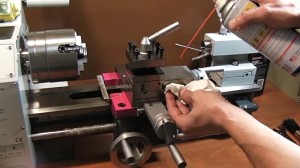
TOSHIBA CAMCORDERRemove the grease and the oil that used to prevent the lathe from rusting in transit with a stiff brash and kerosene. The lathe and all parts should be wiped thoroughly with a clean cloth.


Lathe Assembly and Lubrication

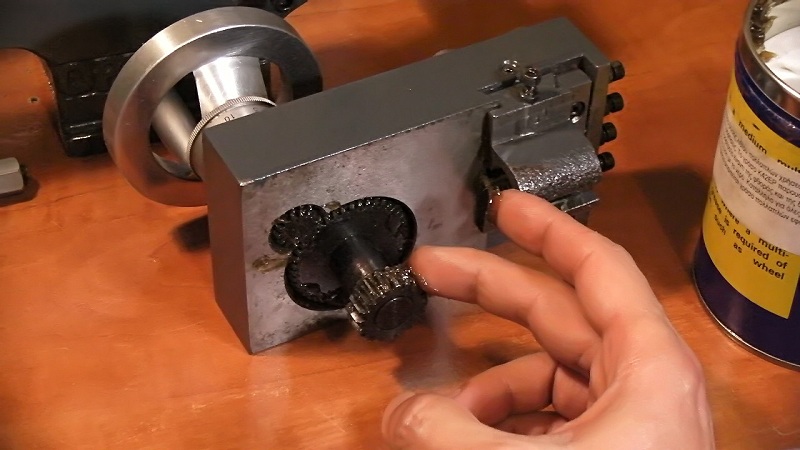
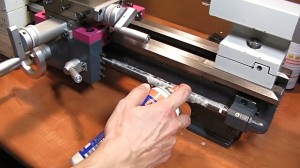
Apply a good amount of grease to slide gears and lubricate all strip metal surfaces with machine oil .
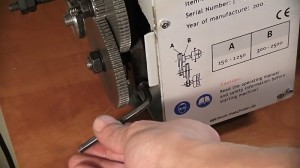
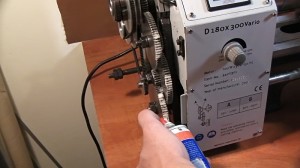
TOSHIBA CAMCORDERClean first and then apply a good amount of grease to the lead screw hanger.
TOSHIBA CAMCORDERSet the lead screw back in place. Alternatively you can install the saddle and the apron first.
TOSHIBA CAMCORDERSlide back the apron and use some sort of support underneath.
TOSHIBA CAMCORDERApply grease at the and of the lead screw and lubricate the strip metal surface beneath the lead screw hanger.
TOSHIBA CAMCORDERClean first and then apply a good amount of grease to the lead screw’s bearings. Set the hanger back in place.
TOSHIBA CAMCORDERTighten the hex nut gently by holding with the one hand the other side of the lead screw.  Rotate the lead screw and make certain that moves freely. Tighten the set screw. Temporarily you can use one gear for assistance.
TOSHIBA CAMCORDERLubricate all strip metal surfaces of the saddle and apply a good amount of sae 30 oil to surfaces that comes in contact with the ways.
TOSHIBA CAMCORDERLubricate the ways with sae 30 or sae 20W(iso 68) oil.
TOSHIBA CAMCORDERDrive the saddle back in place. Tighten the six set screws. Travel the saddle across the ways to make certain that it moves freely. Apply some pressure and try to rise the saddle from the bed by hand. The saddle should be free to move but without the slightest amount of play.
TOSHIBA CAMCORDERJoin the apron with the saddle but do not tighten the screws.
TOSHIBA CAMCORDERMove the carriage in the middle of the bed. The screws that joining the saddle with the apron must be slightly loosen. Lock the half nut and position the apron in such a way as to prevent the lead screw from bending. When you find the right spot tighten the apron to the saddle.
TOSHIBA CAMCORDERCheck if the half nut moves the lead screw up or down also. If so adjust the gib accordingly.
TOSHIBA CAMCORDERLubricate the carriage ways with sae 30 oil and the spindle with motorcycle chain grease.
TOSHIBA CAMCORDERLubricate the cross slide.
Set the cross slide back in place.
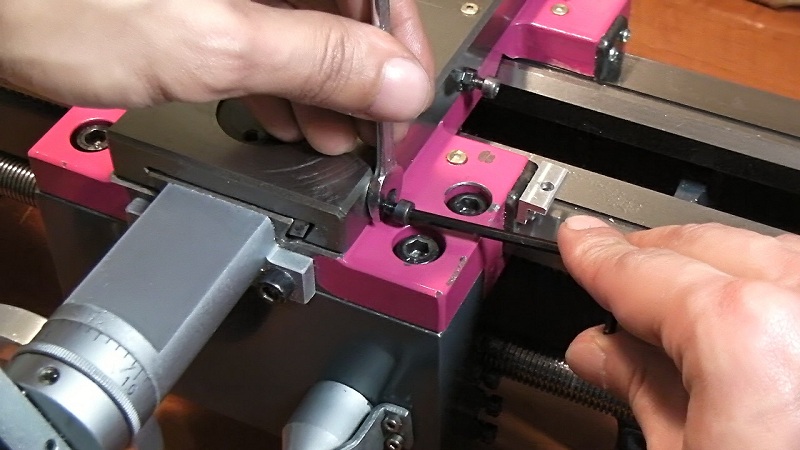
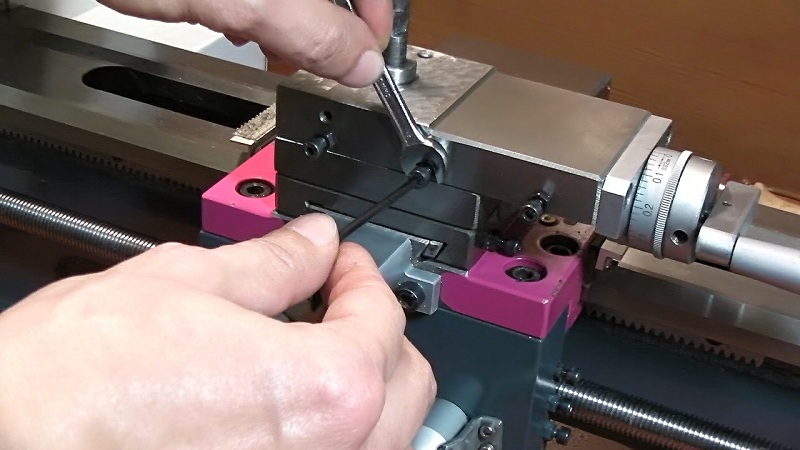
Adjust the gib. Remember should not be too tight , should be free to move but without the slightest amount of play.
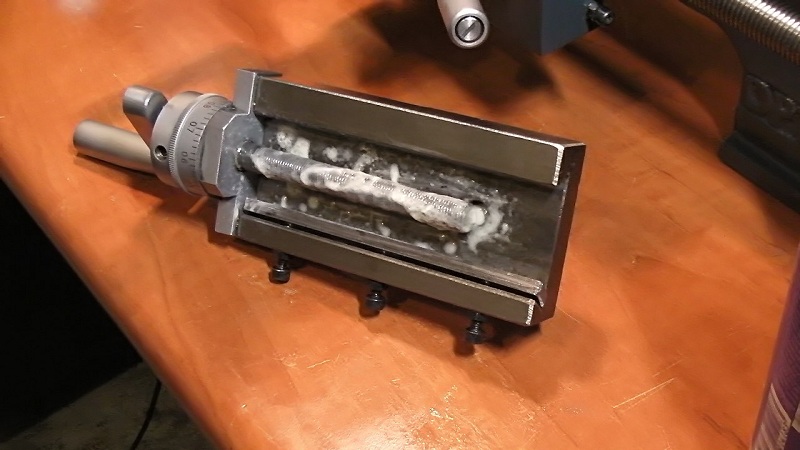
Set the dovetail guide of the top slide and lubricate like so.
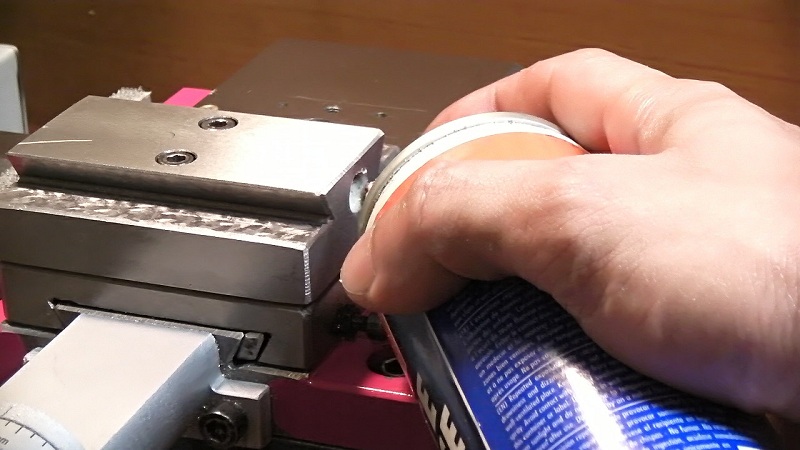
Use motorcycle chain grease and sae 30 oil for top slide also.
Set the top slide and adjust the gib accordingly.
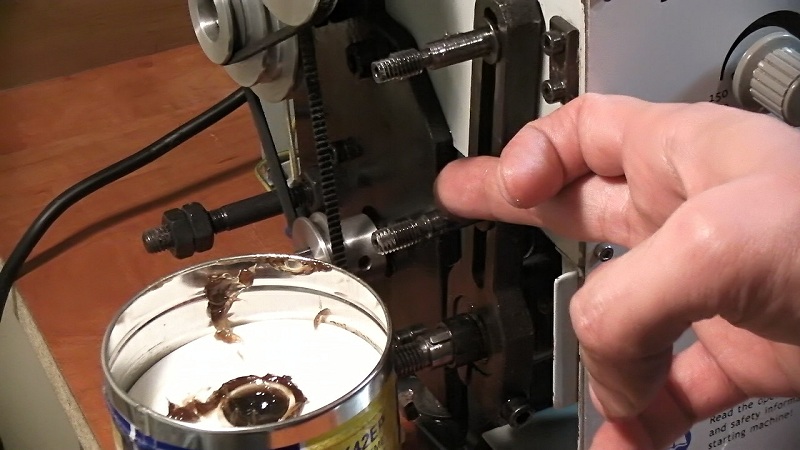
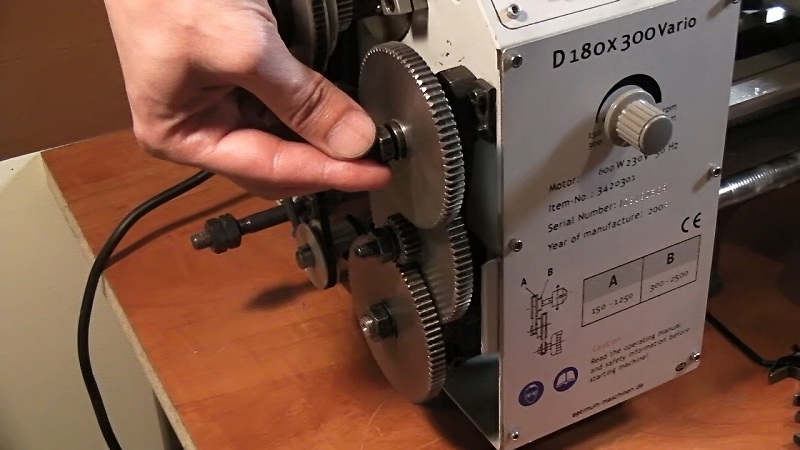
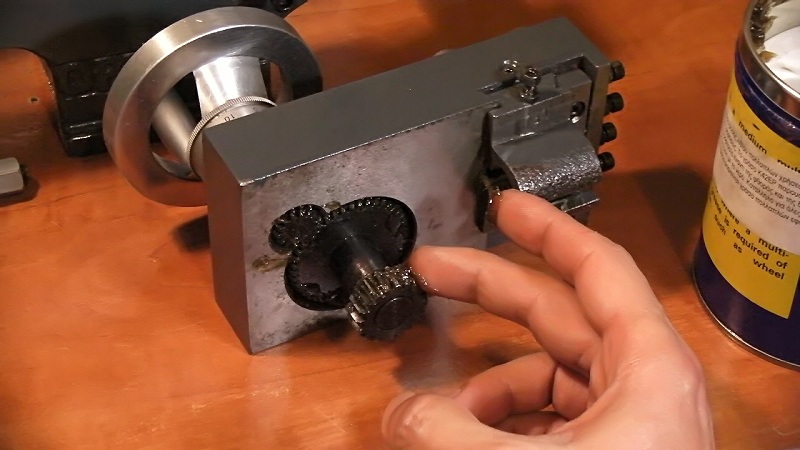
Install the gears gib the collar and the gears shafts. Apply grease to the gears shafts.
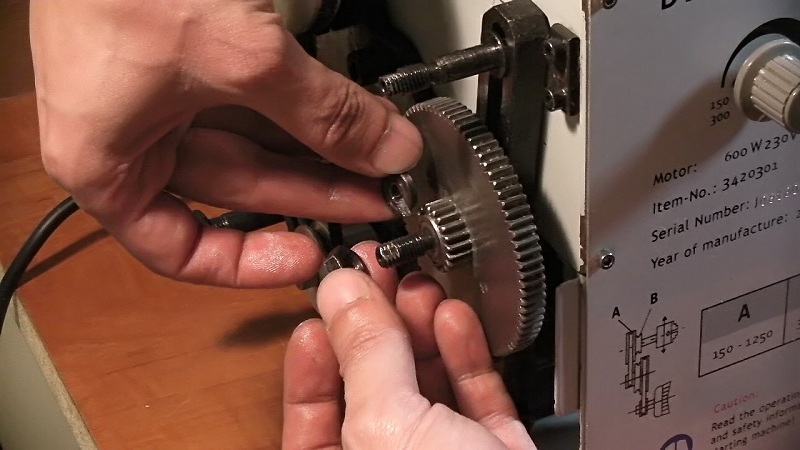
I will install the 0.1mm per revolution gear combination. First the set of gears in the middle. Set the locking washer and tighten the nut by hand.
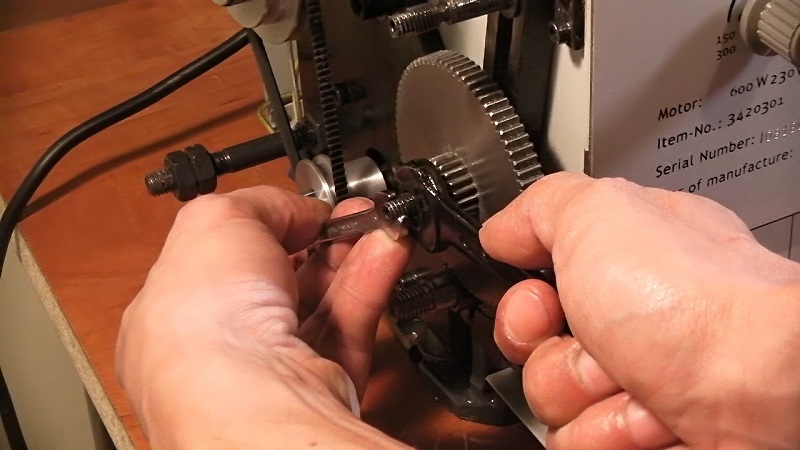
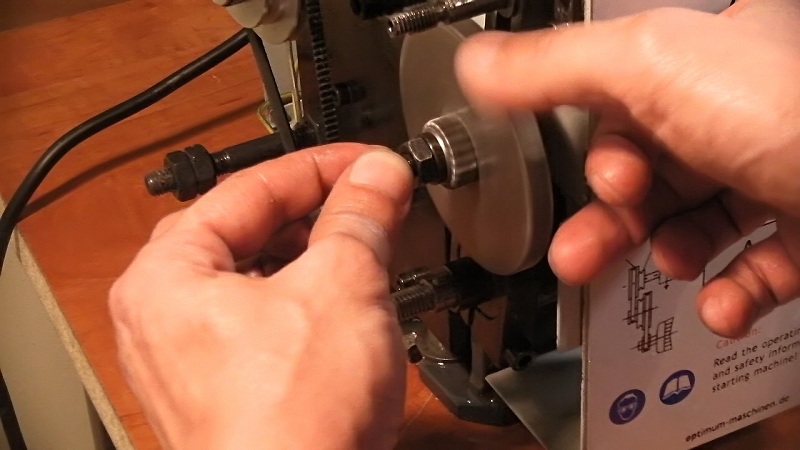
Use a 6mm wrench and loosen slightly the gear shaft. Hold the gear shaft loosen and tighten the nut.
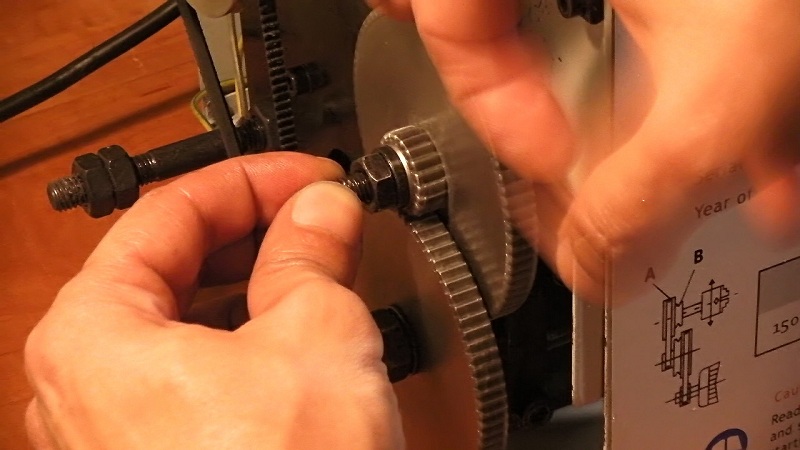
Tighten the gear shaft by hand and spin the gear to check that rotates freely.
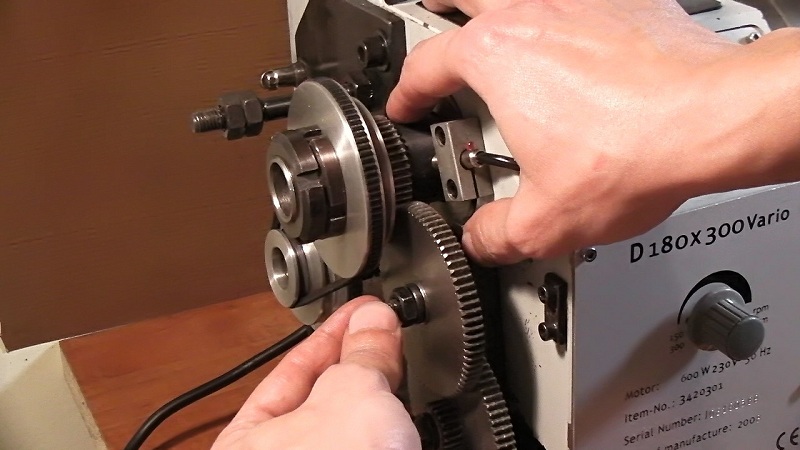
Install the gear to the lead screw. Hold the gear with a rag and tighten the nut.
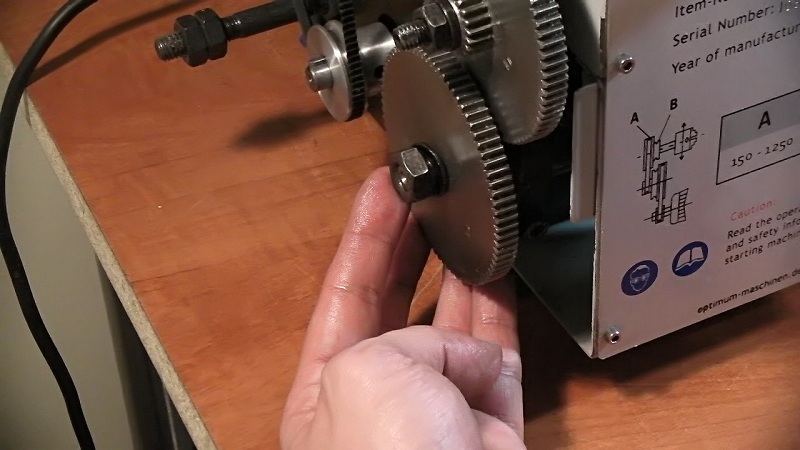
Release the gear set at the middle and drive it against the bottom gear. Rise just a little bit the shaft and tighten by hand. Spin the gears to check that rotates freely. If not rise the gears a little more and keep testing until you find the right spot.
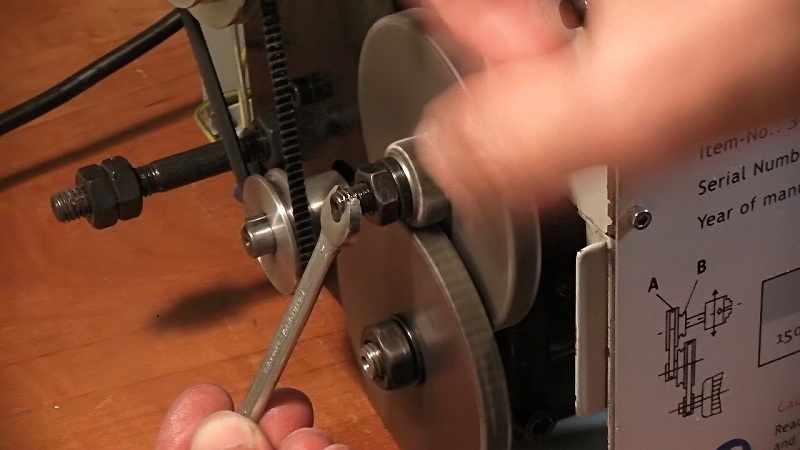
Use the 6mm wrench and tighten the shaft progressively as you spin the gears at the same time.
Install the last set of gears like so.
Push the gears against the toothed wheel.
Spin the chuck by hand a few times and the gears will get the correct gap between the toothed wheel.
TOSHIBA CAMCORDERLock the gear gib.


TOSHIBA CAMCORDERApply motorcycle chain grease to the gears and rotate the chuck by hand until you cover all the tooth.


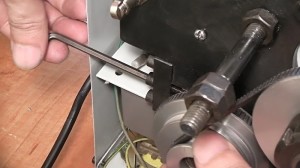
TOSHIBA CAMCORDERInstall the v-belts and adjust the tension. The correct tension has been reached when you can still bend the v-belt approximately 3mm with your index finger.


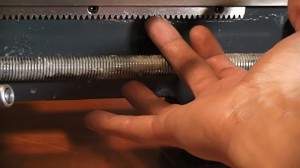
TOSHIBA CAMCORDERApply motorcycle chain grease to the lead screw.


TOSHIBA CAMCORDERApply grease to the toothed rack.


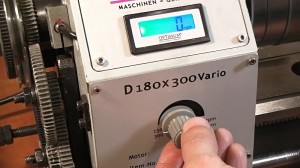
TOSHIBA CAMCORDERPlug the machine to the main power and set the potentiometer to the lowest speed. Close the jaws of the chuck.


TOSHIBA CAMCORDERSet the change-over switch to the right-handed “R” position. Disengage the half nut lever. Position yourself away from all moving parts and the chuck , close the switch of the protective cover with your finger and turn on the lathe to check that everything runs smoothly. If you hear an excessive noise release the switch immediately and check again the v-belts and the gears setup.


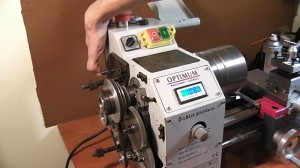
TOSHIBA CAMCORDERAttach the protective cover to the headstock.


TOSHIBA CAMCORDERTurn on the lathe and set the speed at 250-300rpm approximately. Allow a few minutes to warm up the machine. Move the carriage to the tail stock and engage the lever. Do not take your eyes from the carriage for as long it travels to the lead screw.


TOSHIBA CAMCORDERTurn off the lathe and apply a layer of anti corrosion oil. Remove and clean the chuck and the jaws with a clean cloth and anti corrosion oil also.


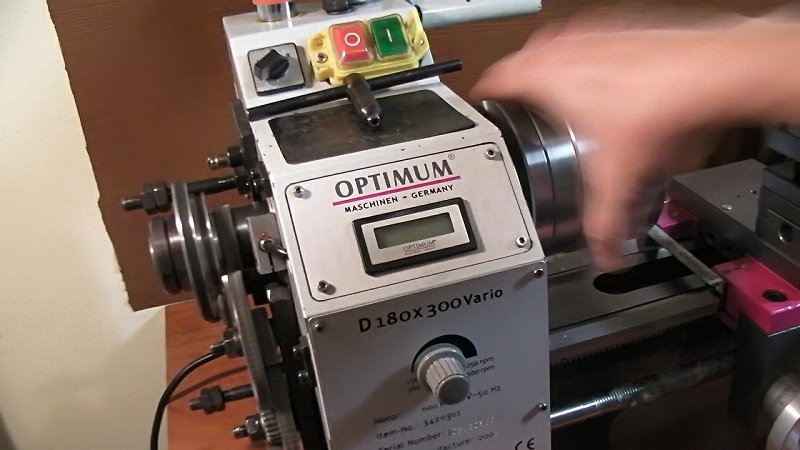
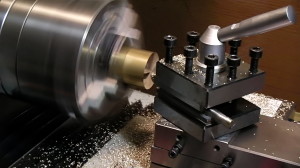
optimumd180We’re ready to make some chips…


Leave a Reply

Your email address will not be published. Required fields are marked *

Latest Posts

Tags